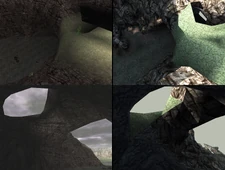
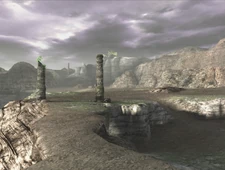
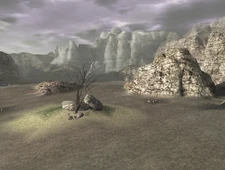
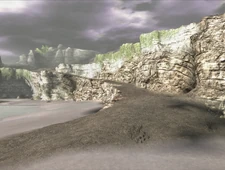
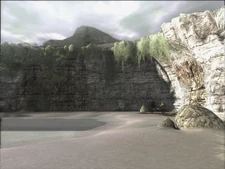
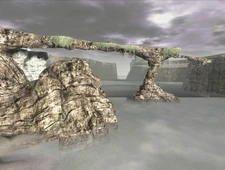
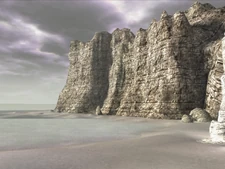
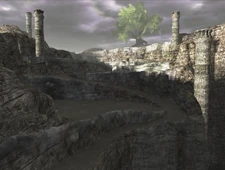
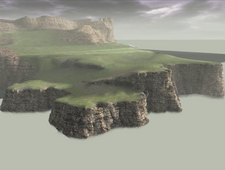
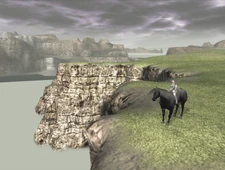
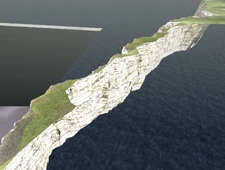
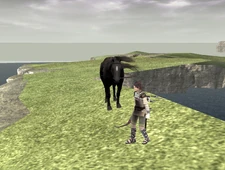
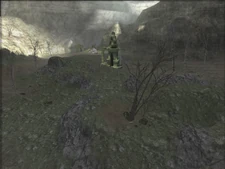
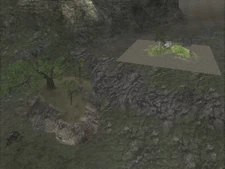
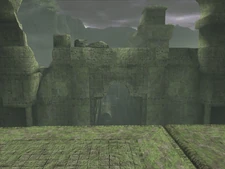
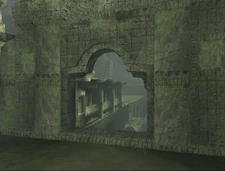
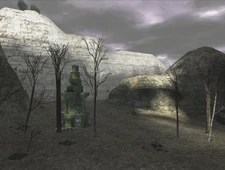
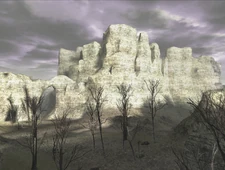
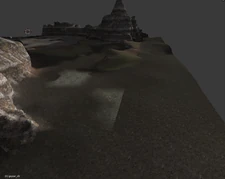
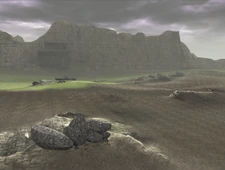
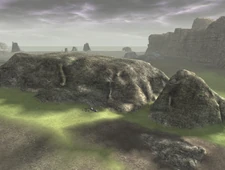
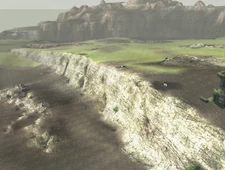
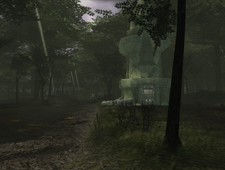
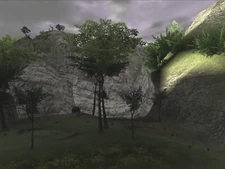
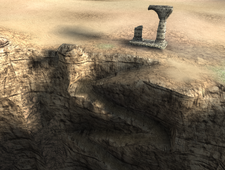
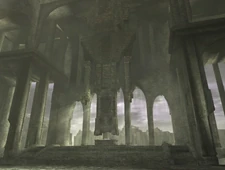
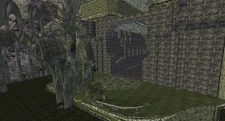
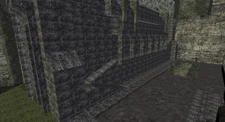
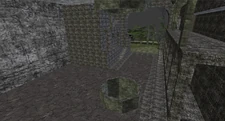
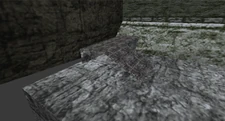
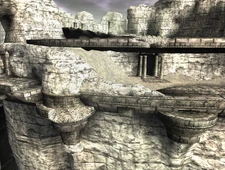
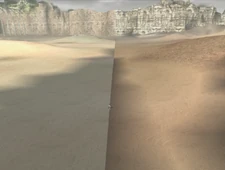
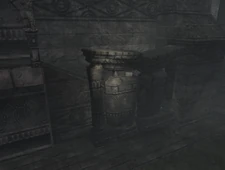
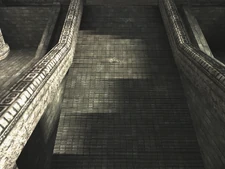
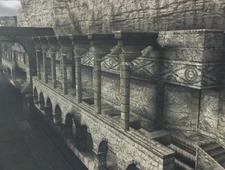
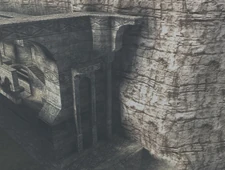
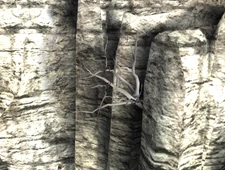
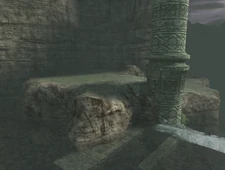
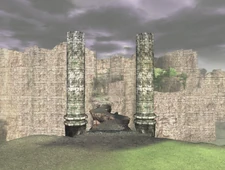
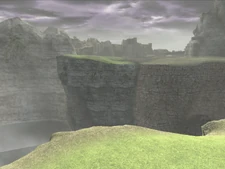
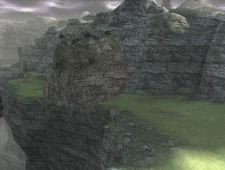
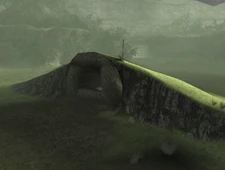
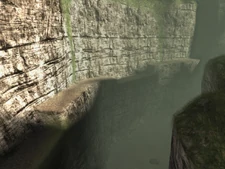
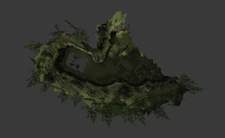
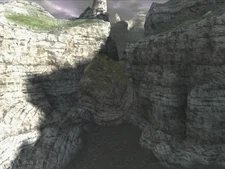
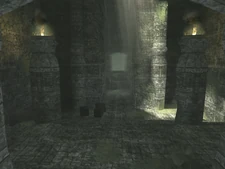
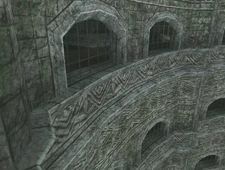
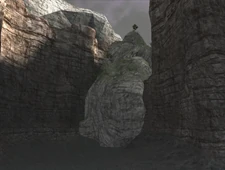
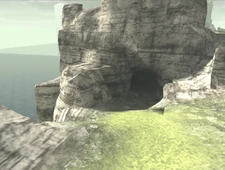
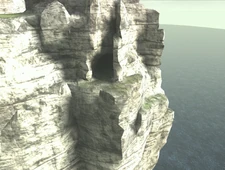
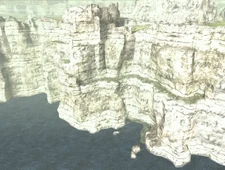
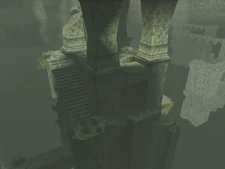
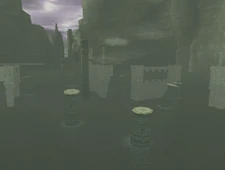
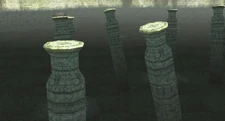
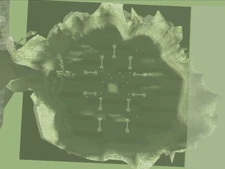
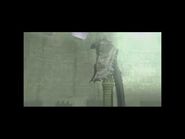
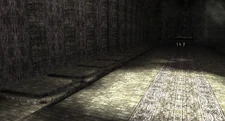
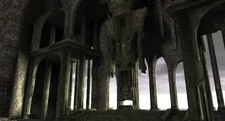
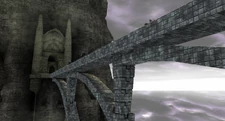
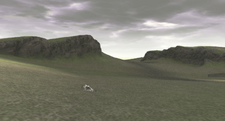
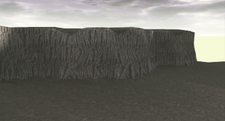
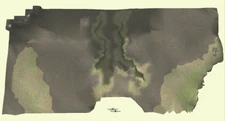
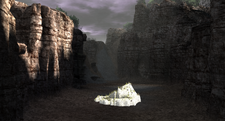
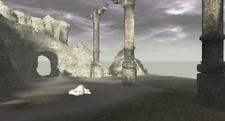
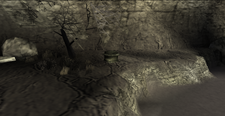
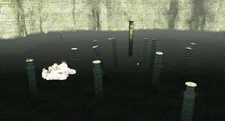
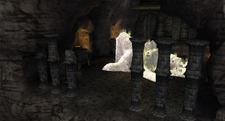
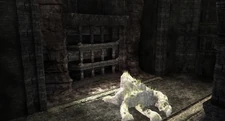
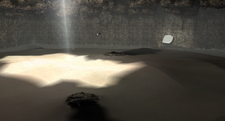
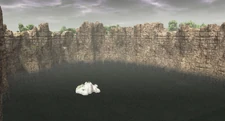
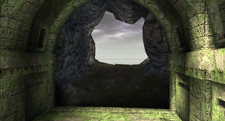
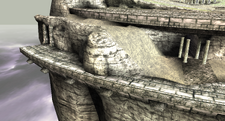
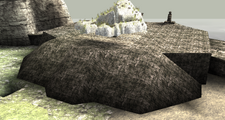
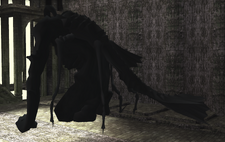
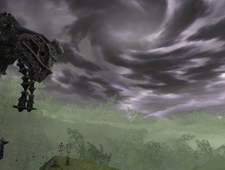
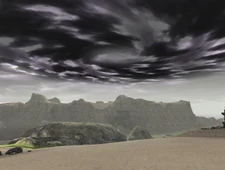
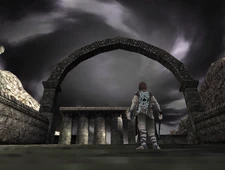
The E3 Demo is a playable demo of Shadow of the Colossus. It was a demonstration version of the game only shown at the 2005 Electronic Entertainment Expo (or "E3"), dated May 11th, 2005, one month before the OPM Demo. It consisted of the journey to and the battle with the 1st Colossus and ended once the player successfully defeated it. The demo contained many edits to the Forbidden Lands to prevent players from exploring past the plains south of the starting point.
The demo wasn't made public until March 20, 2021; when an anonymous donor gave hundreds of earlier versions of games to Hidden Palace, a group dedicated to preserving and sharing old builds of many games.
- Link to the demo
- Wisi's E3 Preview mod (2021.05.10) (removed world blocks and all colossi are accessible)
Below is a list of differences of note.
The Forbidden Lands[]
Thanks to hacking and modifying the game's code to include the debug menu (thanks to Wisi) it is possible to venture further, as the lands all remain in this version.
Gravewind[]
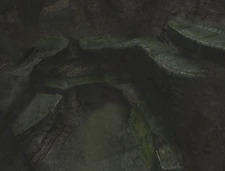
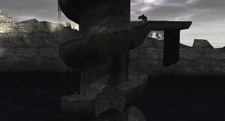
- The entrance to the Gravewind is near identical to the one near the Beta Dam. It's possible that the entrance in I2 was reused to make the one in Narga's arena. This older design is also seen in the PSU Preview version, but the hole was covered with a giant dead tree. In the final version, both the hole and the tree were removed.
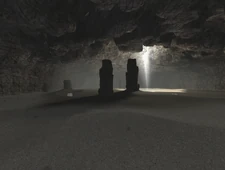
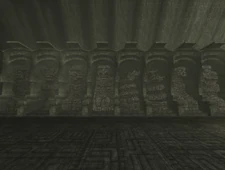
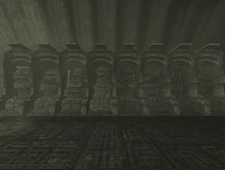
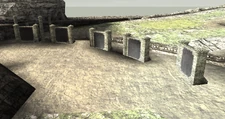
- There are eight rock pillars inside the area in this version, while in the final game there are only five. They align perfectly with the earlier picture of the Gravewind, when it still wasn't inside a cave.
- There is textured ground inside the rock pillars in this version, this could possibly suggest that they were destructible at one point. The ending model of the Gravewind has the pillars missing.
- The light coming out of the hole in the arena uses a different texture, and is similar to the light beams from Colossi.
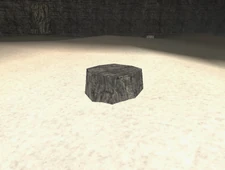
- The smaller rocks that the colossus destroys are different in this version. They are much more basic in design and whenever it comes in contact with them, they simply fall through the floor instead of breaking. These same rocks can also be seen in the PSU Preview version.
- The ramps at the exits of the arena are missing in this version. This is also true for the PSU Preview and Preview versions.
- The cave paths leading up to the arena have a different texture similar to the ones in the J4 beta mountains.
- There exists an intro cutscene for this arena in this version, only playing if Wander enters through the northern cave path. The camera doesn't move, only showing a wall, and the music that plays is Sign of the Colossus.
- The Lair to the West Save Shrine is in a different position in this version, being further away from the cave entrance.
- The Lair on the Mesa save shrine doesn't exist in this version.
Western Cape[]
- The southern way to Narga's lair in this version is completely different. It features a much more detailed land, with incredibly unique textures not seen in the final versions.
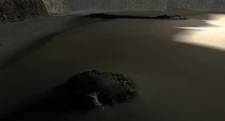
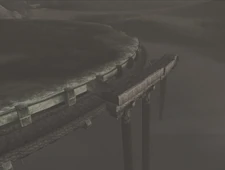
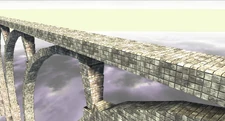
- The fan-named "Ico Beach" at Western Cape is very unlike what is known in the final game, featuring a rather shallow beach with mossy cliffs. The ocean level is also much higher than in the final game, being around half the height of what it became. The bridge was also very different, as it doesn't feature gaps Agro needed to jump across; but features never before seen medium-sized towers at its end.
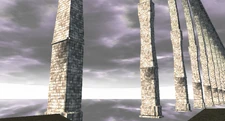
- The winding pathway going towards Lair on the Mesa features massive towers also seen in the PSU Preview version.
- The giant tree above the colossus' cave is alive.
Unused plains near Badlands[]
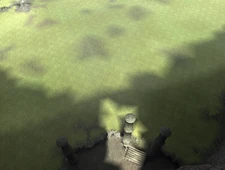
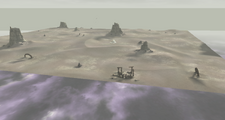
- B6 is a quadrant not found in the final version, previously only encountered in the PSU Preview version; while C6 became a mountain. They are green plains that used to connect to the rest of the southwest area, before the Badlands was deleted and the Canossa was added to the map.
- B6 and the remains of C6 before it became a mountain have collisions in this version, contrary to the PSU Preview.
Umbral Glade[]
- The overall landscape of C1 is cruder, and vastly different.
- The tree next to the Save Shrine is missing.
- There's an early version of an oasis not placed correctly on the area.
Ruins[]
- The pathway to Cerberus's cave entrance that leads to its arena has different pillars than the ones in the final version; they match those of Devil's arena. This is also the case for the PSU Preview version.
- The platform just after entering the Ruins normally has a block pillar that Wander can stand on top of. This is missing in this version.
- The gate leading to the channel is much wider in this version.
- If baited, the colossus can enter the channel in pursuit of Wander. While most of the time it will give up and walk out, other times it can get stuck inside of the ground.
- The cutscene from the arena doesn't play normally, but it can still be activated with the debug menu.
- In the final game, a cutscene plays after the colossus destroys the first and last pillars. In this version however, it plays for every single one.
Stone Arch Gorge[]
- The walls with the pillars next to the Save Shrine are missing in this version.
- The leaves above the stone archway are missing.
- A few textures are different compared to its final version, the pathway being one of them. This is also the case in the PSU Preview version.
Geyser[]
- Kame's cave contains a lake in this version. This is also the case for the Preview and PSU Preview versions.
- The trees in the arena's model have the material "i4_trees". This is also the case for the PSU Preview version.
- The model of this arena is called "geyser_d3" in this version, while on newer versions it is called "geyser_geyser".
- When a model is named like this, it's usually an indication that it has been moved from another quadrant. Examples include "sanctuary_f8" and "canossa_d6".
- There exists an intro cutscene for this arena in this version. The camera doesn't move, only showing a geyser, and the music that plays is Sign of the Colossus.
- The area around the outside of the arena lacks texture blending, having a lot of mismatching textures. This can observed easily on the northwest of the quadrant.
Blasted Lands[]
- This area is a lot more rocky in this version.
- There are several gray colored stones very distinct from the ones encountered in the final version.
- The hill where the Save Shrine rests on has a different shape in this version, being a straight line instead of its final "M"-like shape.
Arena[]
- The bridge to the Knight's arena is connected to the top in this version, not being required to jump.
- The cutscene from the arena only plays by coming from the entrance by D2; the camera goes through some mountains, indicating that the terrain was recently modified.
- There's no horse path data on neither southern nor western entrances. It only exists inside some mountains on the southwest of the quadrant, as the path to entering the Arena was different early on.
Autumn Forest[]
- The Save Shrine in the forest is in a different position.
- The small rivers of the forest have no water effects whatsoever in this version.
- There's a rock blocking the entrance to the forest, existing across all demos.
- The tall pillars outside of the forest are missing in this version.
Leo's Cave[]
- The pathway to the bottom of Leo's valley is a lot cruder in this, Preview and PSU Preview versions. It connects straight to the top, meaning Agro can go down with Wander (she would still be blocked by the lake at the bottom).
- The secondary way of getting on top of the altar is a lot cruder in this, Preview and PSU Preview versions (although they are textured differently in this version). Having blocks instead of ledges, which are awkward to climb onto.
- There exists an intro cutscene for this arena in this version. It starts as soon as Wander steps out of the lake, with the camera panning from it to the cave entrance. The theme that plays is Lakeside.
Shrine of Worship[]
- The altar of the Shrine has arm-like structures hanging from the ceiling. This is the case for the Preview and earlier versions.
- Since the order of the colossi is different in this version, so is the order of the idols inside the Shrine. The 16th uses the 1st Colossus' idol as it was a late addition.
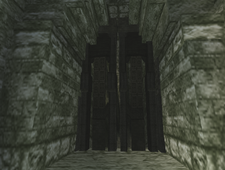
- The door leading to the giant bridge has a very different design in this version, being made of what looks to be wood instead of stone, with several openings that allow the player to look beyond it.
- There's no grass on the outside of the Shrine for climbing to the top in this version.
- There's a door stopping the player from accessing the pool room. This is seen in every demo.
- The save stone from the Shrine is missing.
Secret Garden[]
- The secret garden is not accessible normally in this version, as it doesn't load in-game without messing with the game's code.
- The garden looks completely different compared to the final release version, with none of the waterfalls, channels or fruit trees; having ruined arches and decayed trees instead.
- The back of the garden has a structure which resembles an early version of the Parthenon, Minotaur C's arena.
Temple[]
- The geometry and textures of the arena resembles the ones from its early screenshots, when the 1st colossus still had the stone eyes.
- There are strange blocks next to the left of the ruined temple. It's unknown what function they served, if any.
- The entrance to the arena is somewhat different, as the tree which Wander needs to roll under in the final version is missing, as the roll mechanic had yet to be implemented. The tree was later added in the release versions.
Sanctuary[]
- The shadows of Evis' mountains that overcast F7 are missing in this version, being cutoff at the point where F7 ends and F8 begins. This is due to the colossus' arena not existing until recently in development.
- The gate to Sanctuary doesn't open normally in this version.
- There's an extra cutscene when Wander steps on the stairs leading up to the collapsing bridge, showing the area that needs to be climbed to reach the colossus, with no music. This is also true for the Preview version.
- There's an extra barricade near the final tunnel leading under the colossus. Likely because there was no rolling mechanic in this version.
- The cliff section lacks the floor next to the rocks on the other side, meaning Wander needs to travel through the ledge for much longer. Sometimes the colossus will hit Wander while he's on the ledge, sending him flying to his death.
Parthenon[]
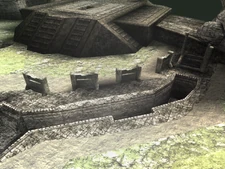
- The plates that Minotaur C needs to step on so Wander can use them as ramps are missing; in their place there are four barricade-like objects, each blocking a staircase.
- The staircase leading up to the Parthenon is not broken in this version.
- The lighting of F1 and G1 does not match.
- The supporting pillars at the top floor of Parthenon are different. These same pillars can also be seen in this versions's Secret Garden.
- At the end of the Parthenon, near the valley, there exists structures very similar to the ones in its entrance which were replaced with mountain walls in the final version.
- The model for the cliffs where the colossus climbs from are a lot taller in this version, and there's some untextured trees on the other side.
- There exists an intro cutscene for this arena in this version. The camera switches perspective, allowing the player to see Wander at a distance while slowly adjusting itself back to its original position, and the music that plays is Lakeside. This is also featured in the Preview version.
Poseidon's Lake[]
- The vines for climbing back to the pathway after jumping into the water are missing, meaning it's impossible to escape the battle in this version.
- The vines for the small pathway on the other side of the waterfall are also missing.
- There's no horse path data on the forest next to the lake. It instead goes directly right, ignoring the forest and going over a gap in land. This is because in earlier versions there wasn't any forest, only a windy path going around the mountain instead.
Half-moon Canyon[]
- The pillars leading to G2 are textured differently.
- The bridge connecting G3 to G4 is missing.
- There's a rock blocking the path to the Bird's arena, existing across all demos.
Kirin's Hill[]
- The entrances to the basement from this version are quite different to later ones.
- The platform where Kirin starts on is textured differently. This can also be seen in the OPM Demo.
- The lighting of the arena is completely different, as the arena was recently flipped, as seen in this version's pause menu map, slow resolution texture of G5, amb texture of G5 and ending model of Kirin's Hill.
- A slow resolution mountain can be seen clipping into the area where the platform is. This is likely a side-effect of the recent flip as well.
- The cutscene from the arena plays when reaching the middle point of the entrance pathway. The song Sign of the Colossus plays instead of Green Hills, and the camera goes through the walls and trees, not being corrected after the arena was flipped.
- There's a rock blocking the entrance to this arena, existing across all demos.
- After defeating two colossi and going to fight Kirin normally, the light from the sword will point to the opposite side of its arena. Another hint that the flip happened recently.
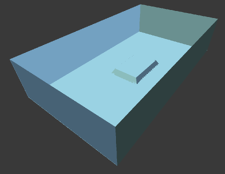
- A collision model named "kirin_test_stage" was found floating above the arena. It has no visible model to accompany it. It is square-shaped with a platform in the middle.
Underground[]
- The bridge to the oasis just after going through the cave is much narrower in this version.
- The flaming pillars inside the temple are not climbable, and there's no wall that needs to be jumped to progress in this version.
- The grates from the windows on Yamori B's arena are fully closed in this version and PSU Preview, likely because the roll mechanic wasn't implemented yet.
- There's a cutscene for this arena that can be loaded with the debug menu, but it doesn't seem to activate normally. The camera doesn't move, and focuses on the oasis. The song that plays is "A Pursuer", also known by its file name "forest".
- There's a rock blocking the way to G6, existing across all demos.
Green Cape[]
- A hidden cave was discovered by SpaceOmega5000 in G8. It is wide enough for Wander and Agro to go through and leads to a clff.
- Below the cliff, after exiting the cave, there exists a strange path similar to the one in E8 with no clear way of getting to it in this build, as Wander will roll out of it and into his death. There's also a beach-like area at the very bottom.
Canyon[]
- The entrance to this arena is different. Wander needs to climb the sides of the ruins instead of the center, and no fences are present.
- The stairs leading up to the highest level of the entrance tower are broken in the final game. In this version however, they're intact, giving access to the top without any issue.
- There exists various medium-size pillars throughout the area in this version. They are a remnant of the Bird's older strategy, where Wander needed to hide from the Colossus' wind blasts using them.
- The platforms that Wander needs to stand on so he can jump onto the colossus are placed at different spots, and are all really bright and out of place. That is because they are separate objects in this version, and likely were set there very recently as its strategy was still changing.
- The colossus' pillar lacks any model underneath the water, and its model has missing geometry on both sides.
- There's a cutscene for this arena that can be loaded with the debug menu, but it doesn't seem to activate normally. The camera doesn't move, and focuses on the Canyon viewed from the south of the quadrant. The song that plays is "Sanctuary", also known by its file name "cave".
The Colossi[]
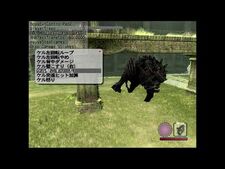
Only the 1st Colossus is available in this build normally, but thanks to modifying the game's code to disable the "demo mode" (thanks again to Wisi), it is possible to fight all of the 16 as they all remain in the files.
Colossi Order[]
The order the colossi were fought was different in this version; this means that some of their battles had some differences, be it small or big.
| Number | Dev. Name | Number in final version |
|---|---|---|
| 1st | Minotaur A | 1st |
| 2nd | Mammoth | 2nd |
| 3rd | Kirin | 4th |
| 4th | Kame | 9th |
| 5th | Eel | 7th |
| 6th | Knight | 3rd |
| 7th | Snake | 13th |
| 8th | Yamori B | 8th |
| 9th | Bird | 5th |
| 10th | Leo | 11th |
| 11th | Minotaur B | 6th |
| 12th | Narga | 10th |
| 13th | Poseidon | 12th |
| 14th | Cerberus | 14th |
| 15th | Minotaur C | 15th |
| 16th | Evis | 16th |
This is the only colossus intended to be played in this version. It is not much different than the final version, except for having no armor on its hands. It also takes longer to lift its weapon after striking, giving enough time for the player to climb onto it if they choose to do so.
This version of it features green-colored fur, unlike the brown of the final version. It also lacks the supporting protrusions on its sides that the player can rest on. It makes a very deep roaring sound whenever it rears up to attack.
This version of it is not that different compared to the final one, other than having a more furry chest, a possible remnant of when it had a beard.
This version of it has some differences from the final one. Despite being the fourth colossus fought, it is marked as the "9th" in the debug menu, meaning it was already in its transitional period for becoming the 9th colossus.
After every pulse beam that the colossus fires, an overload-like effect on its chin appears. The weakpoints on its legs are also more exposed as it lacks armor seen in later versions, making one think Wander could swipe it with his sword attack on Agro, but it doesn't seem to work despite the attack connecting. However, it does work without Agro. The colossus also takes much longer to go back upright, making it easier to climb onto its back; and its head shakes are tamer.
Although some aspects of it are easier, there's something that makes it harder: the geysers don't last long at all, making it difficult to topple it in time.
This version of it features green-colored fur, unlike the brown of the final version. Its spike design is much more detailed compared to the final version, and is also animated with an energy-like substance to it.
The overall battle against this version is very frustrating, as Wander can't roll and whenever he touches the water, he loses the ability to grab onto the colossus, sending him further back, and possibly making it escape.
This version of it has some very minor differences on its chest armor. It also shakes more violently, making it harder for stabs to connect. Other than this, not much else is different.
This version of it features gray-colored fur, unlike the brown of the final version. Its flaps at the top had no skin in-between them, being separated. Its battle was easier as the colossus doesn't barrel roll nor does it dive underground immediately after taking out a weakpoint in this version, being timed instead. The exhausted weakpoint simply gets covered by its flap.
This version of the colossus' armor was much brighter and its tail resembled that of Yamori A, being separated into three parts, unlike the final version.
During this time it moved much quicker than in the final release, being able to fully climb the walls in just a few seconds. Its breath attack was colored blue and blew Wander away on impact, dealing a chunk of damage. The smoke that remains (also colored blue) still poisons Wander if he stands inside it just like in the final game, however, no animation of Wander covering his mouth existed at the time. If Wander stands next to its face, it will launch a single breath ball with no charging time, making it more dangerous to be close to it.
In the final game, it's possible to drop the colossus by shooting it three times in the stomach. In this version however, only one shot is necessary.
This version of it seems to be in a transitional period between its earlier strategy (see the Nicknames Interview or its hint from this version on the right) and the newer one. Quite a few differences exist in this edition, such as its introduction cutscene, and the seemingly recently added platforms of its final fight placed in strange positions. It will also sometimes blow Wander off of the platforms instead of always diving straight through them, making the player need to shoot it twice or more so it can do that action properly.
The colossus only has two sigils in this version; one on each wing, with the tail sigil missing as it was the way to climb it originally.
A new effect for an attack named 'bird_breath_attack' was discovered when loading the colossus' battle. It seems that it was a hot breath attack related to an animation for the Bird only found in this build; that being 'bird_A_add_atk_fire', where it opens its mouth for a few seconds, possibly suggesting the attack was launched from it. The colossus doesn't use this attack normally in gameplay, but it can be activated via the debug menu.
This version of it is very similar to its final incarnation. The only differences of is that it shakes the camera while running and has a lightning effect on its weakpoint.
The stick that is used on the battle against the Colossus is a lot longer in this version.
This version of it has a weapon (or more accurately, four weapons in one), and thanks to it, has a much longer reach and thus more difficult. It is also more mobile, being able to sidestep quickly. Its introduction cutscene ends earlier than normal, before the colossus is fully out of its confinement.
This version of it has a few differences. Its face has no mandibles or mouth and it doesn't jump to eat Wander, chasing him endlessly instead. Its movements are more akin to a snake, as its whole body sways above the sand as opposed to being mostly hidden under it like the final version. Its eyes will occasionally go white for a few seconds, only to go back to orange again.
Its hints are from its earlier strategy described in the Nicknames Interview, where it didn't have eyes and needed to be tricked into ramming its head against the rock pillars.
This version of it is surprisingly different. Its strategy requires the player to use the bow to deal damage to its weakpoint on the stomach, making it the only colossus required to be killed with a bow in the game. This strategy is also told in the Nicknames Interview.
Other differences includes its wider back, mossier legs and extra tooth on its right side. It is also much more unresponsive to hits to its teeth, requiring several strikes to be dealt so it can walk to the platforms. Its stomach also has the ability to open and close, which is also something seen in the colossus' concept arts.
This version of it has higher quality textures, with its armor having much more ornamental designs. When it breaks and the weakpoint is revealed, it can be observed that it has a lightning effect just like Leo's. It also makes a unique growl-like noise in its introduction cutscene which is different from its usual lion ones.
A bug that occurs somewhat frequently in this edition has the colossus walking on walls, leading to it getting stuck on scenery.
This version of it is extremely unfinished. Its fur is white and it carries the 1st Colossus' weapon (or more accurately, an earlier design which is slightly different).
The battle is the same except for the beginning, as the usual platforms that could be used as ramps are not present, and in their stead are barricade-like objects blocking some stairs. The colossus needs to break these barricades, giving access to the higher levels.
There is a serious problem with this as whenever it breaks a barricade, Wander is teleported to the stairs (likely because the developers were still testing it), which sometimes causes Wander to fall through the floor or phase through a wall.
Its weakpoint on the arm also doesn't work. The colossus simply does the animation where it holds its arm in pain without the usual cutscene, and its weapon isn't dropped. While possible to stab the palm with its weapon still in hand, it is extremely difficult.
This version of it is very unbalanced and unfinished. Its pulse beams were blue, and it was much more aggressive. Its feet seems to have some kind of dirt around them, and they are not aligned correctly above ground. Before the colossus is activated, a rock statue of the same is visible beside it, seemingly not centered correctly.
Its animations were also broken, because its neck position seems to have changed. The death animation of the colossus in this version resembles Wander's when he faints after defeating a colossus.
Unused Colossi remnants[]
While not in this version, some small remnants of the unused colossi exist in the files. They are listed below in alphabetical order.
Griffin[]
- A control definition sheet related to Griffin only exists in this version, the 11th and 14th colossi control assign sheets refer to it. Below is the names of the controls which are related to the Griffin sheet:
- Griffin B Dash Condition - Condition for the colossus to dash.
- Griffin B Brake Condition - Condition for the colossus to brake.
- Griffin B Shift Down Condition - Condition for the colossus to slow down.
- Griffin B Shift Up Condition - Condition for the colossus to speed up.
- There's also scripts called "SCRGriffinRush" and "SCRGriffinRumble" in the ScriptCtrlDefDEFAULT sheet. The "rumble" in particular seems to be for the camera shaking as the colossus runs, which is a feature in the 11th and 14th colossi fights in the E3 Demo.
Roc[]
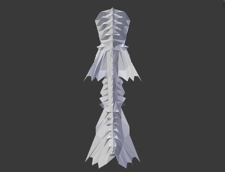
- A part of Roc was found in this version's model of Dormin, that being the tail. While the top part existed in the final game, it was not possible to determine for sure if it was indeed a part of the colossus until this build.
Sirius[]
- Several animations of Sirius were found in this build. They are loaded in Cerberus' and Leo's bodies, with the latter using three in normal gameplay. It's possible Cerberus used the others at some point in development. Most were removed in later versions, only leaving 'sirius_A_back'.
- sirius_A_add_rasp - It lifts its legs from either left or right sides and then places them down again.
- It is an "additional (add)" animation, which means it can be played together with another; thus it can be assumed that what is seen in the animation is not all there is to it, and is possible that Cerberus performs it.
- sirius_A_back - It walks backwards. Made up of three animations including "start" and "end" animations.
- This is used by Leo in order to prepare and ram the altar. Cerberus has a faster version of the same animation named "cerberus_A_back".
- sirius_A_dash - It runs.
- sirius_A_hit_wall - It hits a wall from either its left or right side.
- sirius_A_rage - It turns while running.
- sirius_A_add_rasp - It lifts its legs from either left or right sides and then places them down again.
Yamori A[]
- Two animations from Yamori B only present in this version seem to relate to Yamori A. They named "add_mune_back_damage" (mune = chest) and "add_kosi_back_damage" (kosi = waist), being damage animations for what seems to be the colossus getting stabbed in two different points of the back while still standing upright. They are not used by Yamori B in battle, as one would expect.
- Another animation from Yamori B also related to Yamori A, while still existing in later versions, appears to be different in this one. It is a shake animation which has its last frame match with the one picture of Yamori A.
- Yamori B's tail in this version is shaped like the one in the early screenshot of Yamori A. It's separated in three parts while the final version isn't.
Ending[]
The ending cutscene from this version has several major differences. While still following the same structure as its final version, various models and voice lines are much older, from the time when 24 colossi were still in the game.
The ending can be watched in full here.
Shrine of Worship[]
The Shrine of Worship is incredibly different when compared to its normal in-game design, appearing to be a much older model; with unique texturing, geometry and 24 spaces for idol statues.
Himeji Bridge[]
This version of it has a totally different texturing very similar to those seen in early screenshots, such as Spider's.
The ending models are smaller cut-out versions of the colossi arenas (except 'end_field' which is an early version of 'F4') that are found in-game. All of the dead bodies are white versions of the 1st Colossus, as the dead bodies of other colossi weren't created yet.
end_field[]
In the final game, Wander is seen unconscious on the final colossus' Sanctuary before being brought to the Shrine. In this demo however, he appears in an early model of the fields from the quadrant 'F4', with a lot of differences to its geometry.
end_temple[]
The ending model of Minotaur A's Temple looks to be a little earlier in development than its in-game version, with different texturing and slightly older geometry.
end_proto[]
The ending model of Mammoth's arena. There's some strange small pillar-like ruins on the rocky ground at the north of the arena, a different "dune" texture used near the water and extra rocks on the top near the entrance.
end_kirins_hill[]
The ending model of Kirin's arena is flipped horizontally.
end_geyser[]
The ending model of Kame's arena is just a slice of the ground, with nothing different of note.
end_lakeside[]
The ending model of Eel' arena has some minor differences, such as a broken dark pillar-like object in the serpent tower and some very small differences on the geometry and textures of the broken part of the bridge.
end_arena[]
The ending model of Knight' arena has no differences, aside from the lack of the platform in the middle.
end_desert[]
The ending model of Snake's Desert has no differences.
end_underground[]
The ending model of Yamori B's arena lacks the fences around the stairs.
end_canyon[]
The ending model of Bird's Canyon lacks the platforms of its later strategy, leaving only the pillars used in its former battle.
end_leos_cave[]
The ending model of Leo's arena has no differences.
end_canossa[]
The ending model of Minotaur B's arena has no differences aside from the temple on the back, which is darker.
end_gravewind[]
The ending model of Narga's arena lacks the rock pillars, with a base for them where they should've been. This leaves the impression that they were destructable at one point.
end_poseidons_lake[]
The ending model of Poseidon's arena lacks the platforms from its battle and has different lighting.
end_ruins[]
The ending model of Cerberus's arena has different textures on the cave by the entrance (lb_iwahada).
end_parthenon[]
The ending model of Minotaur C' arena is almost the same, except for the base of the stairs leading up to the top, which have a broken piece.
end_sanctuary[]
The ending model of Evis' Sanctuary has a lot of differences. The path to climbing to the arena doesn't have the hole from the in-game version, some textures on the ground lacks blending, the tunnels have very simplistic texturing, the rock near the cliffside to the west barely blocks the path, the barricades lack the holes and have four strange textures on their back (nk_river_edge, nk_water_col1, nk_wave_add and nk_kokuyoh_base), and the colossus' platform where it stands on is very simple and crude.
Some voice lines are unique to this version, while others are placed at different times. The translation was done by the user named "glowaru".
1: We're almost there... (E3 Only)
|
Miscellaneous[]
Death models[]
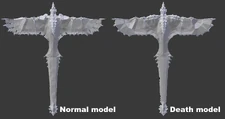
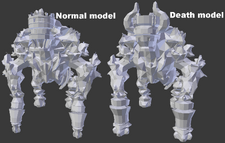
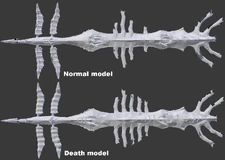
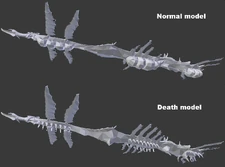
Death models are used when a Colossus turns dark while dying. Some of them from this version reflect earlier versions of the final models and are all listed below.
These were found thanks to Shuu, who was the first to notice that the Knight's death model was different.
Knight[]
The death model of Knight reflects the one seen in many promotional pictures and videos, when it still had a stone piece on top of its head, more structures on its back and bigger armor on its right arm.
Bird[]
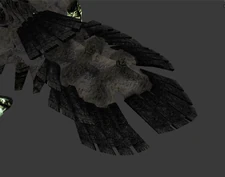
The death model of Bird has different shoulders on the wings, likely reflecting its earlier strategy, as jumping onto the wing was not part of it.
Leo[]
The death model of Leo has longer horns, similar to the ones seen in the Nico DvD footage of it, but still different.
Poseidon[]
The death model of Poseidon has its horns turned upwards, as they were used to guide it to the platforms before the teeth idea was added. Its head design and hooves were also very different.
Snake[]
The death model of Snake reflects the one seen in many promotional pictures and videos, when it still had centipede-like appendages coming out of its underside, lacking the air sacks.
Fruits[]
A few fruits in this demo were discarded in later versions of the game; they are: Fruit_I, Fruit_J and Fruit_L. An earlier version of Fruit_K is also in this version.
Opening[]

Shadow of the Colossus E3 Demo- Opening Cutscene
The opening cutscene just after booting the game is not much different than the final one. The one that plays after starting a 'New Game' however, is. It was previously not possible to play the second opening, but thanks to the continued efforts of Wisi, it is now watchable in-game.
The second opening includes different camera angles from an earlier period of development, unfinished animations, and a different song choice when Wander arrives at the Shrine of Worship, with the theme "Anger".
Sky swirl[]
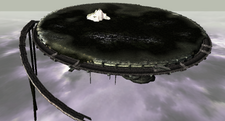
Whenever a battle against a Colossus starts in this version, a massive dark swirl of clouds forms in the sky above its arena, only disappearing after it is defeated. If the player leaves the location they can observe it from afar.
This sky swirl is a remnant of an earlier version where the light beams that shot down from them used to show the next Colossus' location; which in the final game, were made smaller, and only appeared after a Colossus is defeated.
| The game | ICO ( Demo · Revisions from U.S. version · Ico HD ) | |
| Characters | Ico · Yorda · The Queen · Shadows · Shinkan | |
| The Castle | Idol Gates · Yorda's language · Saving Benches Altar • Warehouse • Spiral Stairs • Old Bridge • Stairs • Trolley 1 • Trolley 2 • Crane • Chandelier • Drawbridge • Main Gate • Graveyard • Dark Room • Sunbeams • Stone Pillar • East Crag • East Arena • East Idol Stairs • East Reflector • Waterfall • Sluice • Cogwheel • Gondola • Water Tower • West Crag • West Arena • West Idol Stairs • West Reflector • Cage • Pipe • Elevator • Wharf • Queen's Room • Sandy Beach | |
| Other Media | Ico ~Melody in the Mist~ · Official Game Guide · Ico: Castle in the Mist | |
 Walkthrough Walkthrough | |
|---|---|
| Characters | Wander · Mono · Agro · Dormin · Lord Emon · Guards · Shadows |
| Colossi | I · II · III · IV · V · VI · VII · VIII · IX · X · XI · XII · XIII · XIV · XV · XVI |
| Locations | The Forbidden Lands · Shrine of Worship · Colossus Arenas |
| Main Items | Power-ups (Lizards · Fruit) · Weapons (Ancient Sword · Sword of the Sun · Queen’s Sword · Sword of Dormin · Bow & Arrow · Ancient Bow · Harpoon of Thunder · Life Sword) · Collectibles (Relics) |
| Gameplay | Hard Mode · Save shrines · Time Attack · Reminiscence Mode · Watermellon · Barrel |
| Media | Roar of the Earth (OST) · Official Art and Guide Book · Nico Bonus DVD · Film · Interview Archive |
| Releases | OPM Demo · PS2 original · PS3 remaster · PS4 remake · Credits |
| Early Builds | Preview version · PSU Preview version · E3 Demo |
| Unused Content | Unused Colossi · Colossus Test Stages · Unused Locations · Beta Mountains · Development Timeline of Shadow of the Colossus |

